

To make these cute bottles, you will need the following:
- 6mm strips of quilling paper in pastel colours
- 3mm satin ribbon
- needle and thread in a colour to match your ribbon
- small craft vial with cork
- resin flower the same size as the cork
- fine glitter
- scrap of regular printer paper
- sticky tape
- book page
- double sided tape
- craft glue and bamboo skewer
- pencil and eraser
- scissors

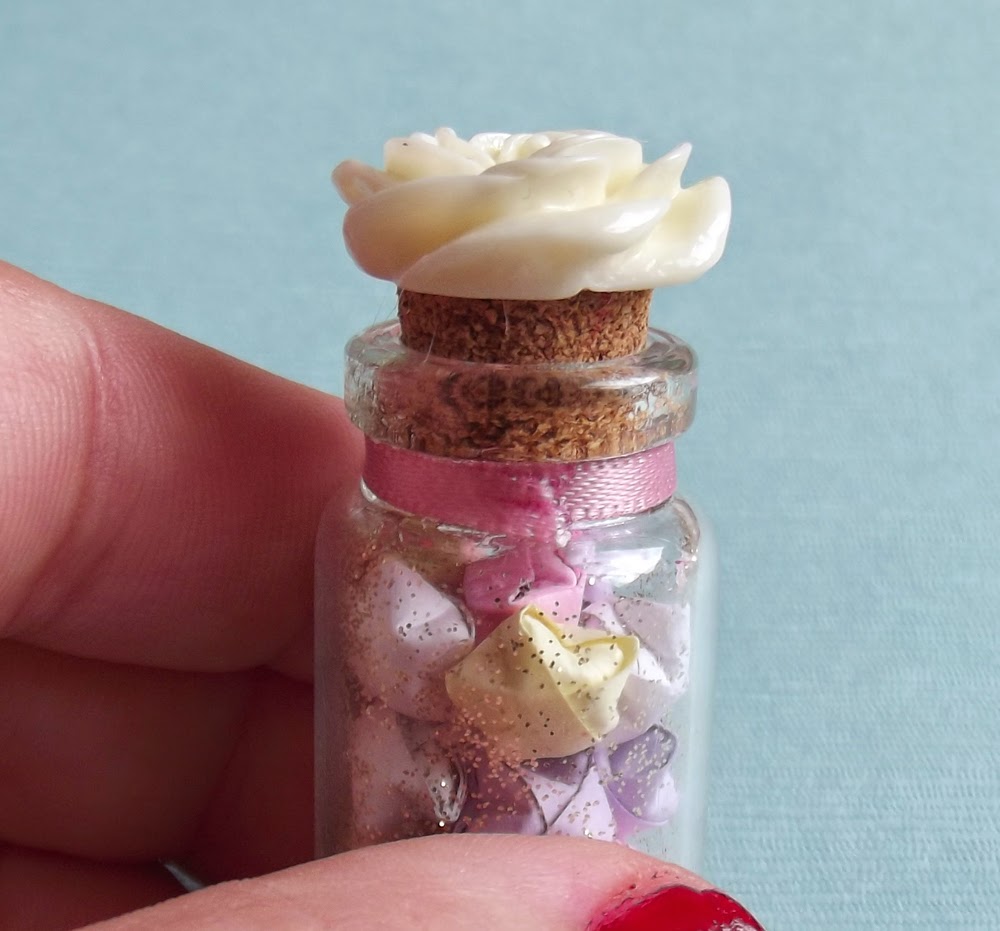
Quilling paper can come in a variety of widths. For my little vial, pictured above, I used 3mm strips, but for the larger bottle, being made in this tutorial, I used the 6mm. Each strip should yield about 4 - 5 stars. You could, of course, use a paper trimmer to create your own strips from your choice of paper. Just be careful that the paper is not too thin, or it will break when you try to knot it, and that it's also not too thick or it will be hard to fold. Giftwrap would be perfect.

To make the stars, start by tying a knot in one end of a paper strip. Carefully tighten and flatten the knot, then trim the short tail. You should be left with a pentagon shape with a long tail. Fold the long tail up and across the front of the pentagon. Then fold in down the back. Fold it back up across the top to the opposite 'shoulder' of the pentagram, then down the back again. Tuck the long end of the strip under the top fold at the front of the pentagon. Pull it through and then trim it so that you're left with just the pentagon.
Hold the pentagon between four fingers of your left hand, then use your thumbnail on your right hand to push into the fifth side. Repeat for each side. As you push into it, the star will 'puff' out. Pinch the points to give them more definition. Make enough stars to fill your vial without packing them down.

Next, make a simple funnel to put the glitter in the vial. Cut a semi-circle from your scrap of paper. Roll it into a cone, making sure the is a small gap at the bottom, and secure with sticky tape. Place the narrow end into the vial and slowly pour in the glitter, giving the funnel a little shake now and then to help the glitter pass through.

When you're happy with the amount of glitter in the vial (a little goes a long way!), use the bamboo skewer to apply craft glue to the inside of the vials' rim and insert the cork. Put some more glue on the top of the cork and stick on the resin flower. Set aside to dry while you make the ribbon rose to go around the neck of the vial.
Thread a needle with some sewing cotton the same colour as your satin ribbon, tie a waste knot and have on standby. Starting with about 15cm of satin ribbon, bend it at 90 degrees in the middle. If you've ever made crepe paper streamers, then this method will be familiar. With the fold as shown below, fold the horizontal ribbon across to the right. Fold the vertical ribbon up over the fold you just made. Fold the horizontal ribbon back to the left, then the veritical ribbon back down.
Keep folding the horizontal ribbon across and the vertical ribbon up and down, alternating them, until you form a concertina about 2.5 - 3cm long.

Hold the bottom of the concertina between two fingers and pull gently on one of the ribbon ends to form the rose. Pinch it between your fingers so it doesn't unravel, and use the threaded needle to sew a stitch or two to secure the rose. Trim the ends of the thread to make the stitching as invisible as possible. Use the bamboo skewer to put a dab of glue on the neck of the vial. Hold the rose in place on the glue by wrapping the two ends of the ribbon around the neck and pinching them at the back for 30 seconds. Glue and trim the two ends of the ribbon at the back of the vial.

Fold your book page vertically in half, lay the vial down on the fold to give a size guide. Draw freehand a simple butterfly wing shape and cut it out, keeping the folded edge intact. Gently erase your pencil marks and then use double-sided sticky tape to attach the wings to the back of your vial.


Congratulations, you've just made a gorgeous little fairy bottle full of lucky wishing stars!
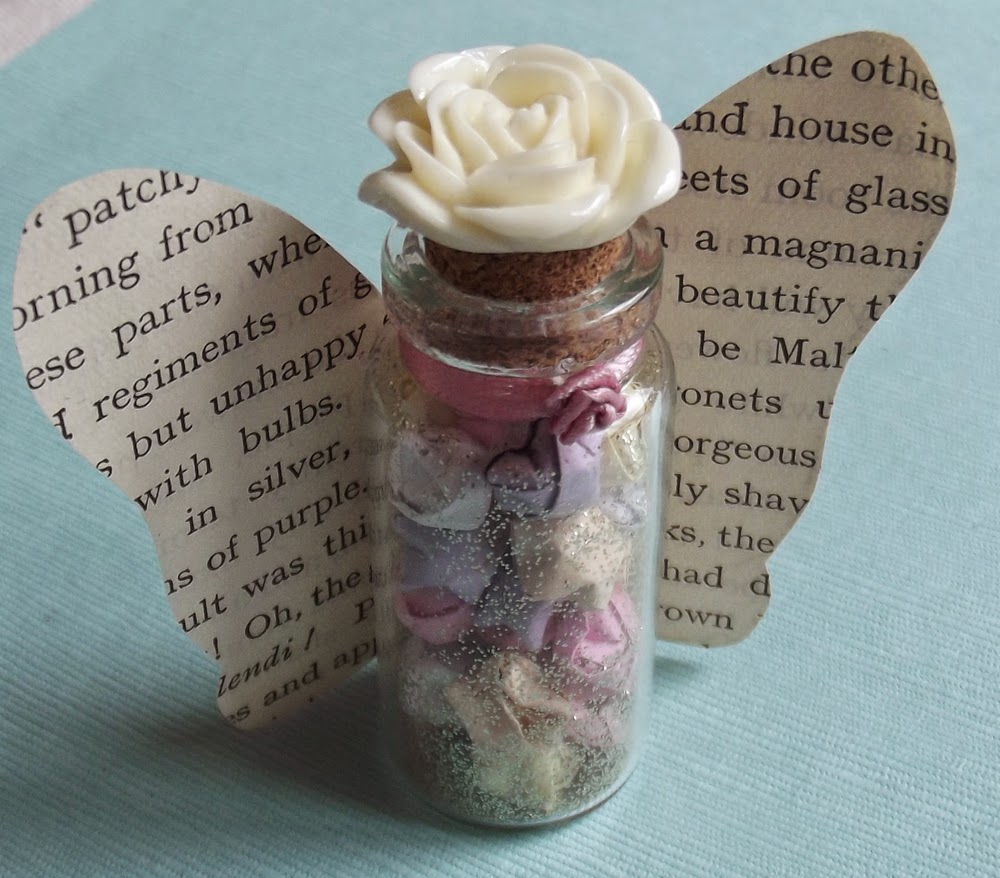
If you don't feel confident drawing your butterfly wings, try printing some out from a google search. Or you could use a rubber stamp on some vellum. If you're into parchment craft you could create gorgeous lacy fairy wings. You could even sew some out of felt or embroider them!
These jars would make great table number holders or photo holders by omitting the resin flower on top, and inserting wire into the cork instead. Coil the other end of the wire to create a folder for a piece of paper, postcard or photograph. It could even hold earring cards, business cards or little signs on a market stall!

I made the smaller bottle first, using 3mm strips of quilling paper to give absolutely tiny little stars, and topped the bottle with a button. I just bought a heap of these glass vials from a local discount store, so watch out over coming weeks for more projects featuring them!
By the way, the fairy figurine featured here is The Crystal Keeper by Christine Haworth. Thanks to my family for building my fairy and angel collection over many Christmases and birthdays!
As always, I appreciate it when you take the time to make comments and I will always respond back. Don't forget, if you try any of my tutorials, please share it with me, either in the comments, on Instagram (just include @liliflorapretty in the description or comment) or on Facebook (see the link at the side to follow!)
Take care!
Emma


